
Key Takeaways
A useful social video starts with a clear purpose, then gets shaped for the place people will watch it. Use this sequence to make editing more manageable and your final cut easier to follow.
- Decide what you want viewers to understand or do.
- Choose a format and opening that suit the message and platform.
- Organize your footage before building the timeline.
- Keep cuts, captions, color, and sound clear on a phone.
- Review each platform version before publishing and learn from its performance.
Plan your video for its platform and audience
Before you open an editing app, decide who the video is for and what it should help them do. A little planning can prevent you from shooting footage that does not fit the format or the viewer’s needs. It also gives you a simple standard for deciding what belongs in the edit. If you run a small business, The Gig Resource provides free, step-by-step guides for common business and digital challenges, including practical small-business video editing tips.
Set a goal and define the viewer
Choose one main goal, such as explaining a service, answering a common question, or inviting someone to take a next step. Then picture the viewer: what do they already know, and what might make them stop scrolling? That answer affects the language, examples, and pace you use. A video aimed at a first-time customer usually needs more context than one made for people who already know your business.
Choose a format that fits the message
A talking-head clip can make a direct explanation feel personal, while a demonstration lets viewers see a process as it happens. A short sequence of scenes may work better when you need to show a change or tell a quick story. Match the format to the information, not to a trend you feel obliged to follow. This simple planning table can help you choose a starting point.
| Message | Possible format | What to capture |
|---|---|---|
| Explain a service | Short direct-to-camera clip | A clear explanation and one example |
| Show a process | Demonstration | The key steps, in order |
| Share a customer question | Answer or mini explainer | The question and a concise response |
| Show a place or product | Short visual sequence | Distinct details and a closing shot |
Treat these as starting points, not rules. Once you choose a format, you can decide what to film and leave out footage that does not serve the message.
Write a hook and outline the key moments
Write the first line before filming, even if you expect to say it naturally on camera. It should tell viewers what they will get from the video without making them wait through a long introduction. Then jot down the few moments needed to deliver on that promise: an opening, the main explanation or action, and a clear ending. A simple outline keeps the edit focused while leaving room for a spontaneous moment that genuinely helps.
Check platform requirements before filming
Check the destination platform’s current video specifications before you record, since format options and limits can change. Think about whether viewers are likely to watch vertically, with sound, or while scrolling quickly. Frame your subject with some extra space around them so you have room to crop later. Planning for the final placement now can save you from discovering that an important detail sits outside the frame.
Prepare your footage and editing setup
A tidy project makes the actual editing less frustrating, especially when you have several takes or different kinds of media. Gather the clips, audio, logos, and other assets you expect to use, then choose an editing setup that fits the size of the job. You do not need a complicated workflow for a short social video; you need one you can repeat. The Gig Resource also offers a directory of pre-vetted Fiverr specialists if you would rather hire help than handle every editing task yourself.

Organize clips, audio, and graphics
Give files clear names and group related material before you start cutting. This makes it easier to find the best take later, and it reduces the chance of using an outdated logo or the wrong audio file. A few simple folders are often enough to keep a small project orderly:
- Video clips, grouped by scene or topic.
- Dialogue, music, and other audio files.
- Logos, photos, and graphic elements.
- Exports and project versions, kept separate from source files.
Keep the original footage intact and work from organized copies where possible. Once everything has a home, you can focus on the edit instead of searching through a crowded folder.
Choose an editing tool that fits your workflow
Think about the work you need to do, the device you use, and how often you expect to make videos. A straightforward clip may only need basic trimming, titles, and audio adjustments; a more involved project may call for a fuller timeline workflow. It can help to compare editing software options before settling on a setup, but avoid choosing a tool just because it has the longest feature list. The right fit is one you can use comfortably to finish the video you planned.
Set the project’s aspect ratio and resolution
Set the project dimensions to match the intended placement before you arrange the final sequence. Vertical, square, and horizontal formats each give you a different frame to compose within, so the choice affects where you place faces, products, and text. Start with the best available source footage and avoid enlarging a small image more than necessary. If you expect to make several versions, keep a clean master project that you can adapt later.
Select the strongest takes before you start
Review the footage once before building the timeline, and mark the moments that are clear, relevant, and easy to hear. You do not need to keep every take simply because you recorded it. Notice whether the speaker finishes a thought, whether the action is visible, and whether the framing works for the planned crop. Selecting good material up front makes the first edit quicker and gives the video a stronger foundation.
Build a clear, engaging edit
Once your clips are organized, shape them into a sequence that is easy to understand on a first viewing. Start with the main idea, remove material that distracts from it, and use visual changes to support the story rather than decorate it. A clean edit does not have to feel slick; it should feel intentional and keep the viewer oriented. As you work, clarity comes before polish.
Arrange clips to create a simple story
Build a rough sequence before spending time on fine adjustments. Put the opening first, follow it with the explanation or action that delivers on the opening, and finish with a useful closing moment. If you are showing a process, keep the steps in an order that a viewer can follow without guessing. Watch the rough cut through once to see whether the point makes sense before you refine individual shots.
Trim pauses and tighten the pacing
Remove long gaps, repeated phrases, and starts that do not add meaning. Keep enough breathing room for speech to sound natural; cutting every pause can make a person seem rushed or make the explanation hard to absorb. Check the pace with the audio on and, if the video relies on text or visuals, with the sound off too. Small trims often do more for momentum than adding effects.
Use transitions and effects with a light touch
A straight cut is often all you need when one moment follows another clearly. Use a transition when it helps signal a change in time, place, or idea, and keep the style consistent throughout the video. Effects can draw attention, but too many competing treatments make it harder to focus on the message. After adding one, watch the surrounding shots together and ask whether it improves the flow.
Add B-roll to clarify or vary the visuals
B-roll can show what you are describing, provide a visual break, or cover a cut between two parts of a spoken explanation. Choose footage that adds information rather than simply filling every pause. For example, a close view of a relevant tool or product detail may make an explanation easier to follow. Check that the extra shot fits the timing of the dialogue and does not distract from the key point.
Improve the video’s visuals and sound
After the structure is working, make the picture and audio feel consistent from beginning to end. Small differences in brightness or volume can be distracting when clips sit next to one another. Review the video on the kind of screen where people are likely to watch it, not only in the editing window. These final adjustments should support the message, not compete with it.
Adjust exposure, color, and consistency
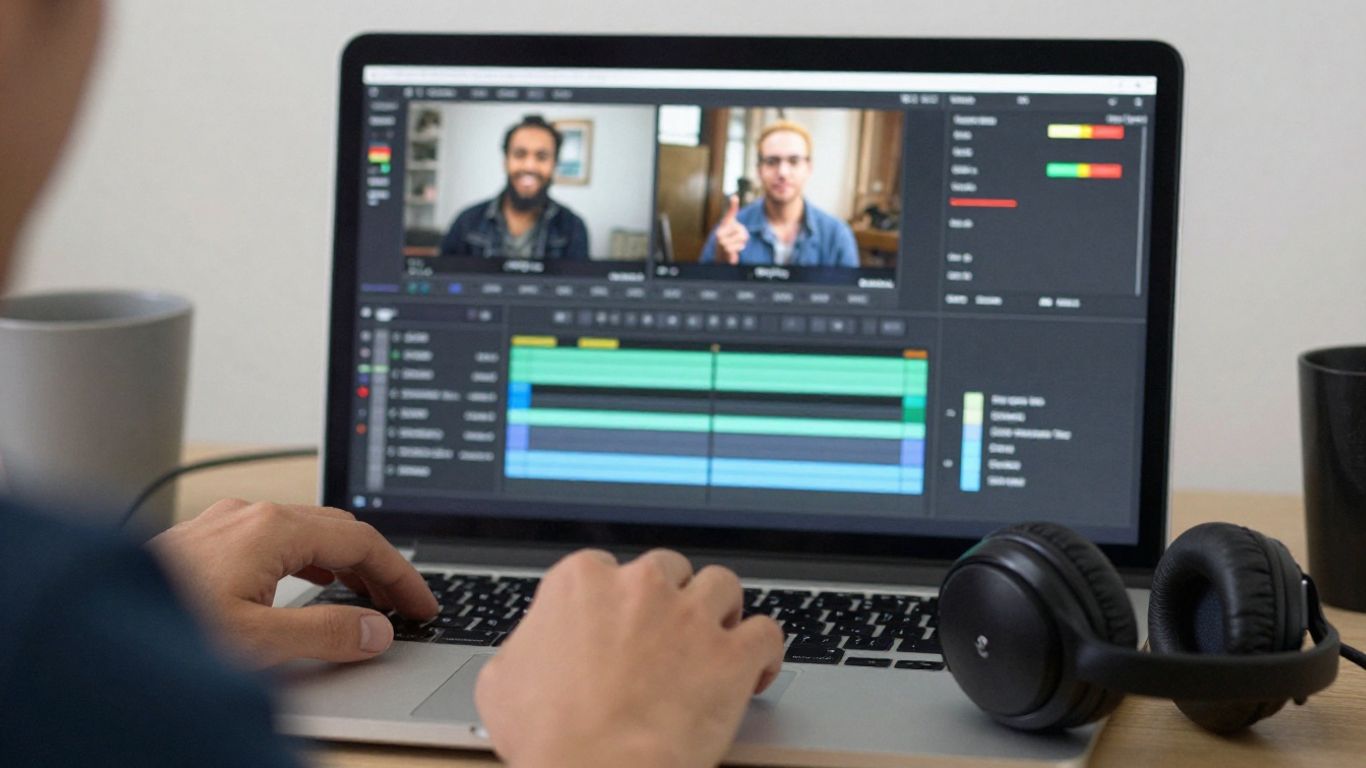
Look across adjacent shots and check that faces and important details are visible. If one clip is noticeably darker or warmer than the next, make modest corrections so the sequence feels cohesive. Avoid pushing color so far that skin, products, or familiar surroundings look unnatural. When the footage comes from different moments, consistency matters more than making every shot look dramatic.
Balance dialogue, music, and sound effects
Make spoken words easy to hear before adding music or effects. Keep background sound low enough that it does not compete with the voice, and listen for abrupt changes in volume between clips. Use sound effects only when they reinforce an action or transition. Then play the sequence through with headphones or speakers to catch noise, clipping, or an audio cue that lands at the wrong moment.
Add captions for accessibility and muted viewing
Captions help viewers follow spoken content when they cannot or do not want to turn on sound. Review the wording rather than assuming an automatic transcript is correct, especially for names and specialized terms. Keep captions synchronized with the speech and break long thoughts into readable chunks. If you include music or sound effects, captions can still make the essential spoken message accessible.
Keep text readable on small screens
Use short phrases and a type size that remains legible when the video is viewed on a phone. Place text against a clear background or use enough contrast to separate it from the image. Give titles and captions room around the edges, since interface elements may cover parts of the frame. Preview the result at a small size; if you have to lean in to read it, simplify or enlarge it.
Adapt the edit for each social media platform
One finished edit can be a useful starting point, but a single export may not fit every placement. Different shapes, interface overlays, and viewing habits can affect how the same footage feels. Keep a clean master version and make deliberate changes for each destination rather than stretching or cropping without a review. The goal is to preserve the message while making the video feel at home in its new frame.
Choose the right aspect ratio and crop
Choose the frame shape based on where the video will appear, then check how the crop changes the composition. A vertical crop may remove details that were visible in a horizontal master, while a square crop may shift the balance around the subject. Reposition the frame when possible so the important action stays visible. If you need more guidance on dimensions, a format guide for social videos can help you compare common placements.
Keep key visuals inside safe zones
Leave breathing room around faces, products, and text rather than placing them tight against the edge. Social platform controls can cover parts of the frame, and the exact interface may vary by placement. Check the video in a preview when available and move important details away from likely overlays. A little extra space also makes it easier to adapt the same scene to another crop.
Tailor the opening and length to viewing habits
Make the first seconds quickly establish what the viewer is seeing or why it matters. If the idea is simple, there is no need to stretch it; if it needs context, give the explanation enough time to land. Watch for any setup that delays the useful part of the video. A strong opening is not necessarily loud or surprising—it is a clear reason to keep watching.
Create platform-specific versions from one master edit
Duplicate the master project before making changes, so each version can be adjusted without disrupting the original. Reframe shots, reposition text, and check that captions still fit the new dimensions. Keep names for the versions clear, including the destination and date if that helps your workflow. This approach saves repeated work while giving each export a final review of its own.
Export, review, and publish your video
Exporting is not just a final button press; it is the point where you check that the edit survives outside your project. Use a format and quality setting supported by the intended platform, and keep a copy of the finished file. Then watch the exported video from beginning to end, because a mistake can appear in the file even when the timeline seemed fine. A calm review now is easier than correcting a post after it is live.
Choose export settings that preserve quality
Start with the platform’s current specifications and use an export size that suits the source footage and destination. Avoid unnecessary re-exports, since repeated compression can affect the picture. Give the file a descriptive name and save it somewhere you can find again. If you make multiple versions, distinguish them clearly so the wrong cut does not get uploaded.
Watch the final file on a mobile device
Play the exported file on a phone, not only on a desktop display. Check that the crop feels right, text is readable, and the opening makes sense without needing extra context. Listen at a normal volume and make sure dialogue remains clear. This quick device check catches issues that are easy to miss while zoomed in on an editing timeline.
Check captions, audio, and platform specifications
Before publishing, confirm that captions are accurate and timed properly, and listen once more for distracting sound changes. Check the chosen file against the destination’s current requirements, including the shape and duration you intended. If you are preparing the video for several placements, review each export separately. The final file should match both the edit you approved and the platform where you plan to share it.
Track performance to guide your next edit
After publication, look at the signals that relate to your original goal, rather than judging the video by a single number. Notice where viewers seem to stay engaged or drop off, and whether the post prompted the response you wanted. Use those observations to adjust the next opening, length, or explanation. The Gig Resource provides free, step-by-step guides for business and digital challenges, and you can use a repeatable review process to make each new edit more informed.
Conclusion
Learning how to edit videos for social media is mostly a matter of making a series of clear choices: plan for the viewer, organize your footage, shape a simple story, and check the finished file where it will be watched. Keep the edit focused and adapt each version with care. With a workflow you can repeat, the next video becomes easier to plan and finish.
Frequently Asked Questions
What should you do first when editing a social media video?
Start by deciding what the video should accomplish and who needs to see it. That gives you a clear basis for choosing clips, pacing, and the ending.
How long should a social media video be?
There is no single ideal length for every platform or subject. Keep the video only as long as it takes to deliver the useful information clearly, and check the platform’s current limits.
Should you edit in vertical or horizontal format?
Choose the format based on the placement where people will watch the video. If you plan to use the footage in several places, preserve a master edit and make reviewed versions for each crop.
Do social media videos need captions?
Captions can make spoken content easier to follow when viewers watch without sound and can support accessibility. Review the captions for accuracy and timing before publishing.
How can you make a video feel less slow?
Remove repeated points, long pauses, and setup that does not help the viewer. Keep enough space for speech and actions to feel natural rather than cutting everything tightly.
What should you check before publishing a video?
Watch the exported file on a mobile device, check the crop and text, listen to the audio, and review captions. Confirm that the file meets the current requirements for its destination.
Can you use one video on multiple platforms?
You can start from one master edit, but you may need to adjust the crop, text placement, opening, or length for each platform. Review every export separately before posting.